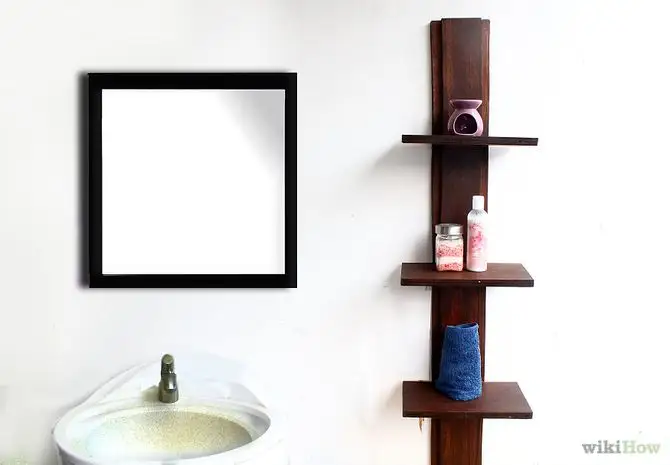
Want to organize your bathroom items so they're always visible without being closed in a cabinet? It couldn't be simpler. With just a few pieces of lumber, some screws, and wood stain or paint, you can build your own shelf by following a few simple steps:
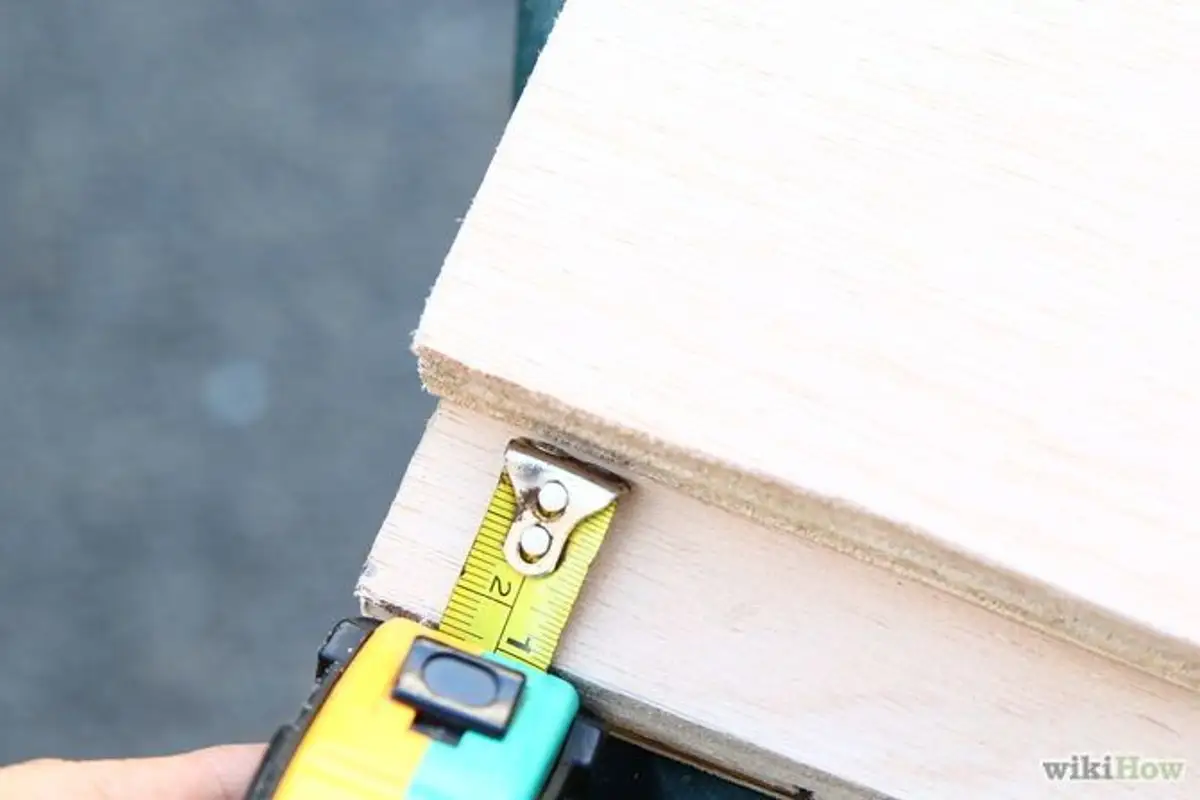
Determine the location in the bathroom where you want to place the future shelf. Based on this, see how much wood you will need;
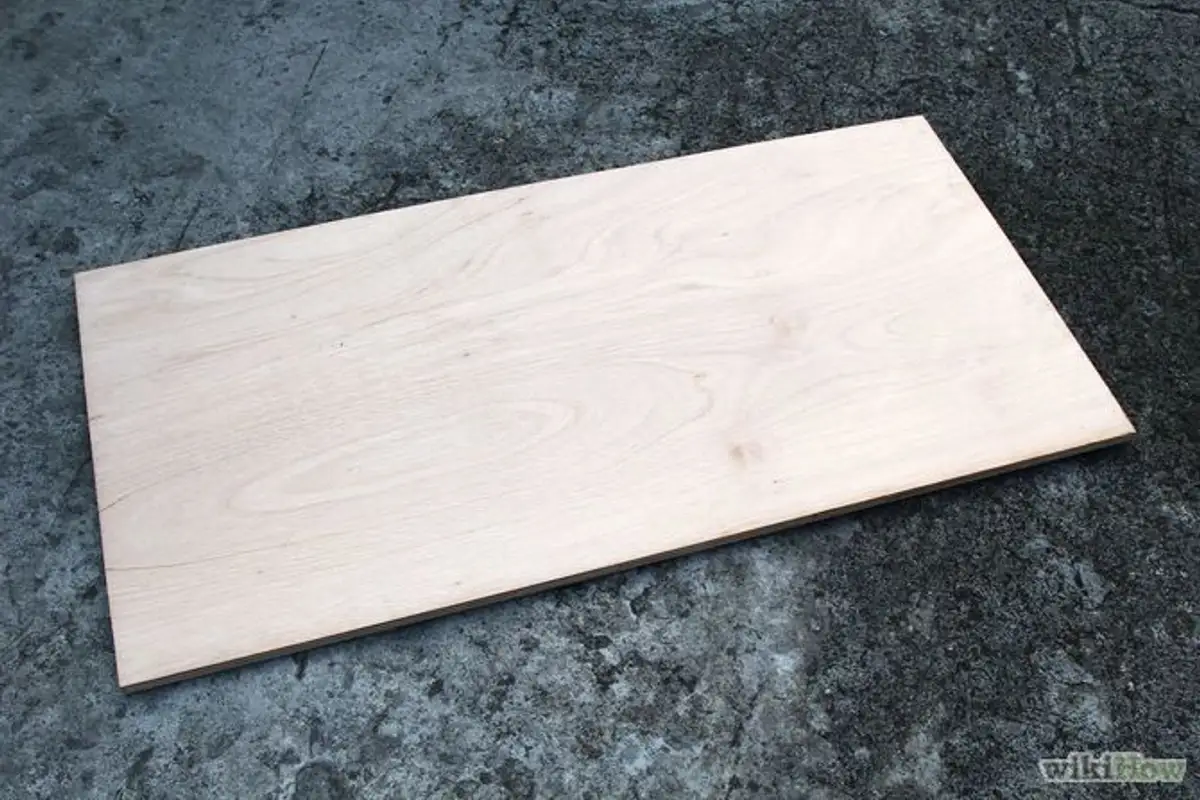
Go to the hardware store and ask the employee at the lumber section what type of wood would be best suited for a shelf. Buy material based on the measurements you have taken. Consider the thickness and durability of the wood;
Buy a stain or paint specifically designed for wood. The color you choose for the shelf is entirely up to your creativity. We recommend considering the colors of other objects in the bathroom to avoid a stark contrast between them;
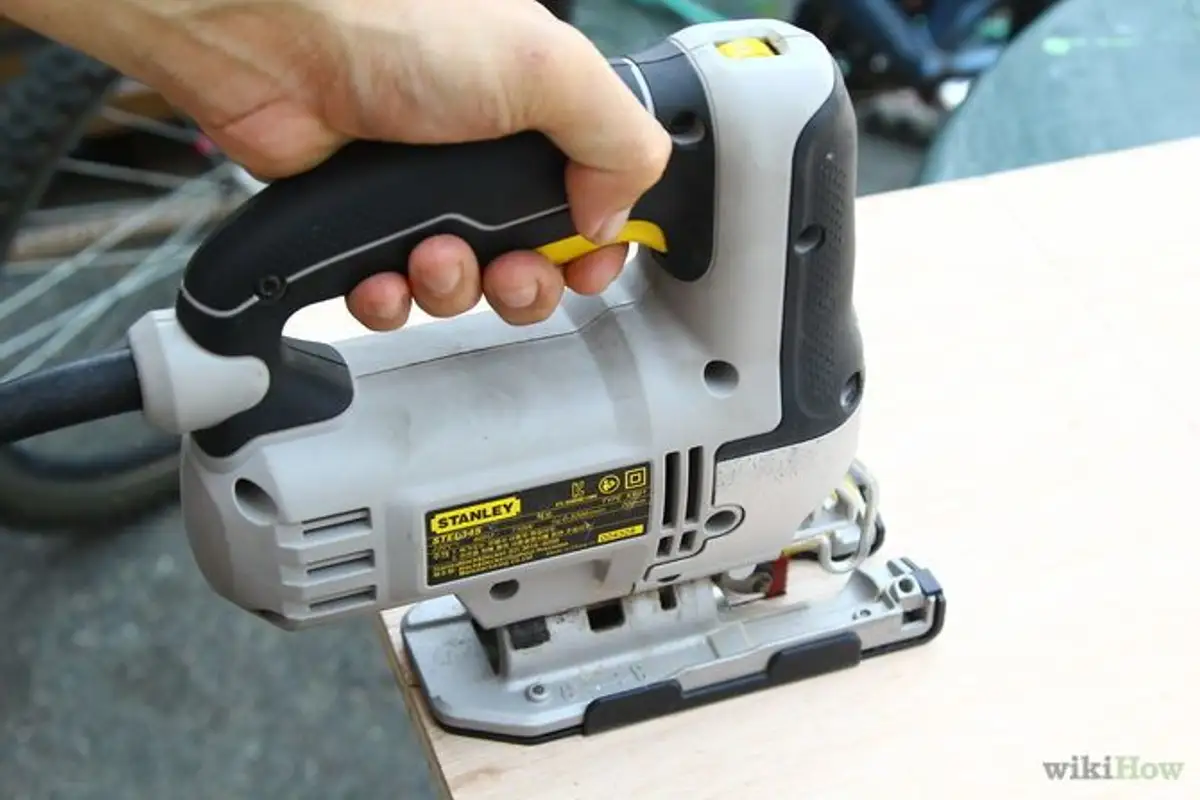
Buy or borrow a handsaw/power saw, screwdriver/drill, sandpaper, hammer, nails, and screws depending on the thickness of the lumber you purchased;
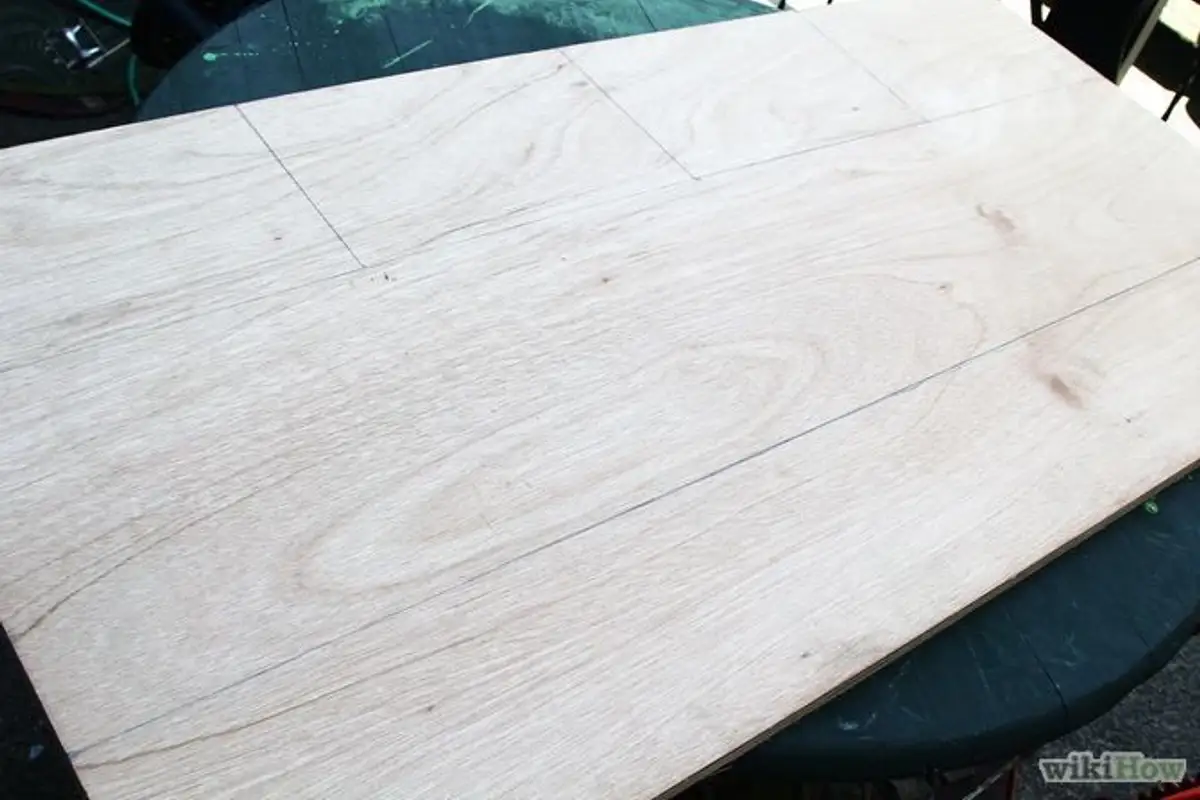
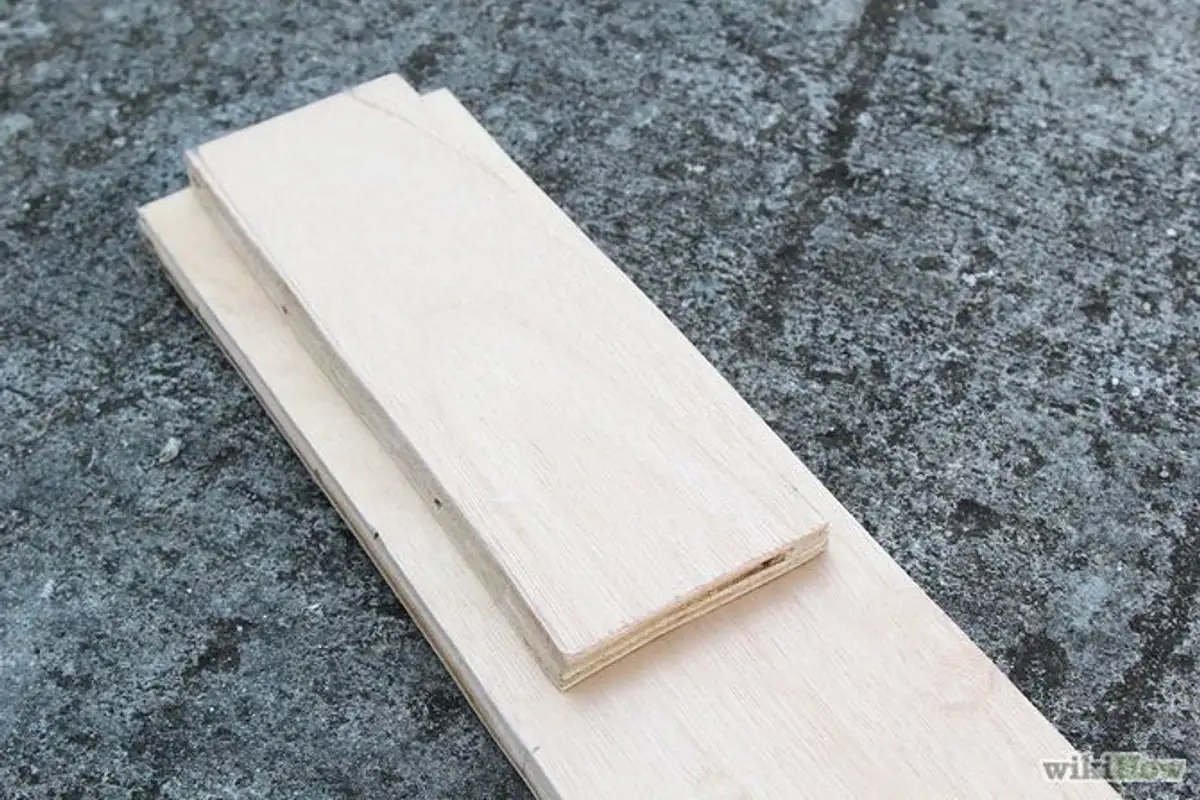
Cut the wood according to your measurements and the desired size of the shelf, maintaining proper proportions. In the end, you should have three components: a base piece for assembling the supports, 3 supports, and 4 side pieces for supporting the supports. Smooth the edges of the cut pieces with sandpaper;
Assemble the components in order and prepare them to be fastened with screws;
Start by attaching one of the 4 side pieces to the main piece using small nails discreetly hammered on the sides, then attach the first top support with screws. Continue in this manner for the remaining supports. Use a drill to make two holes at the top and bottom of the shelf for wall mounting;
Before applying stain or paint, sand the surfaces and corners of the shelf again with sandpaper. After painting, let the shelf dry for about 24 hours;
Place the shelf in the desired location.
You can find photos in the gallery above to help you put the components together.
Bathroom Shelf