The simplest and cheapest way to change the look of a room is to change its appearance. Although considered an outdated trend, wallpaper is the easiest way to give a room a new lease on life. The existing wallpaper variants are exceptional and modern. Here's how to install wallpaper in a few simple steps.
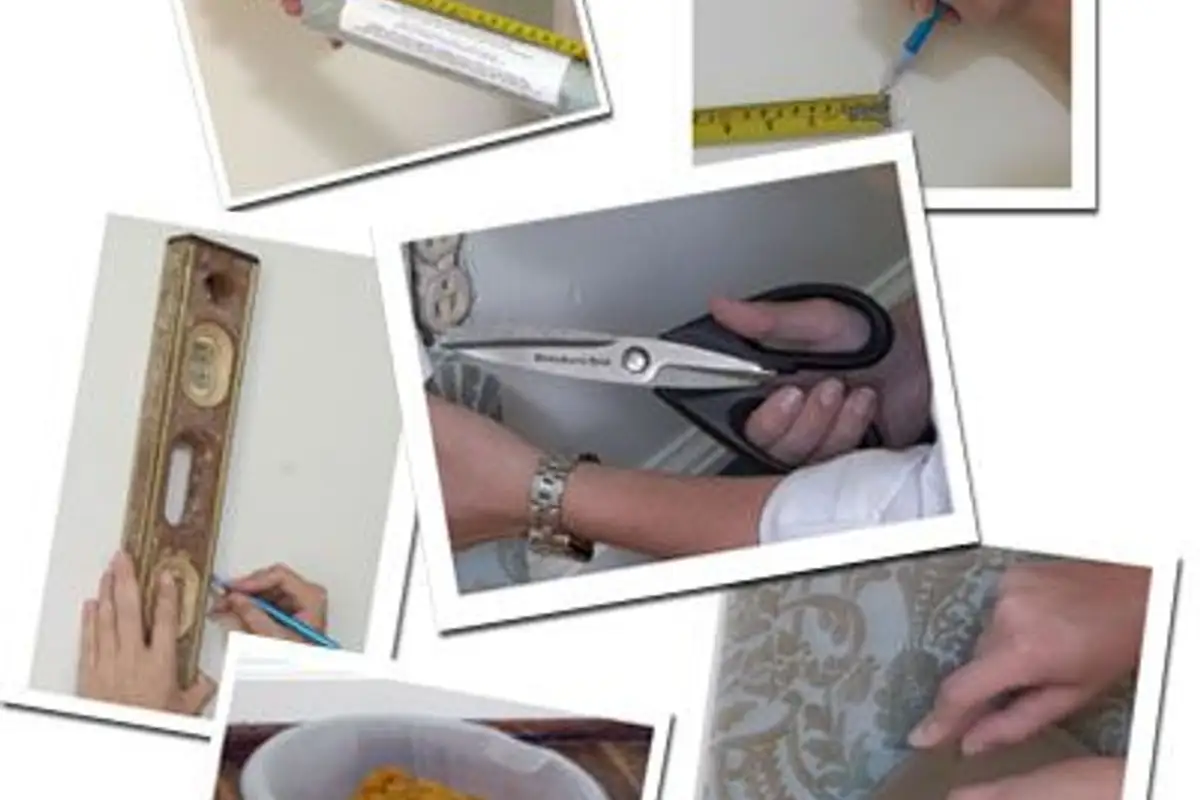
Necessary tools: sufficient wallpaper to cover the desired space
tape measure
pencil
a cutter
paintbrush
plumb bob
a knife
scissors
a container of water and a sponge
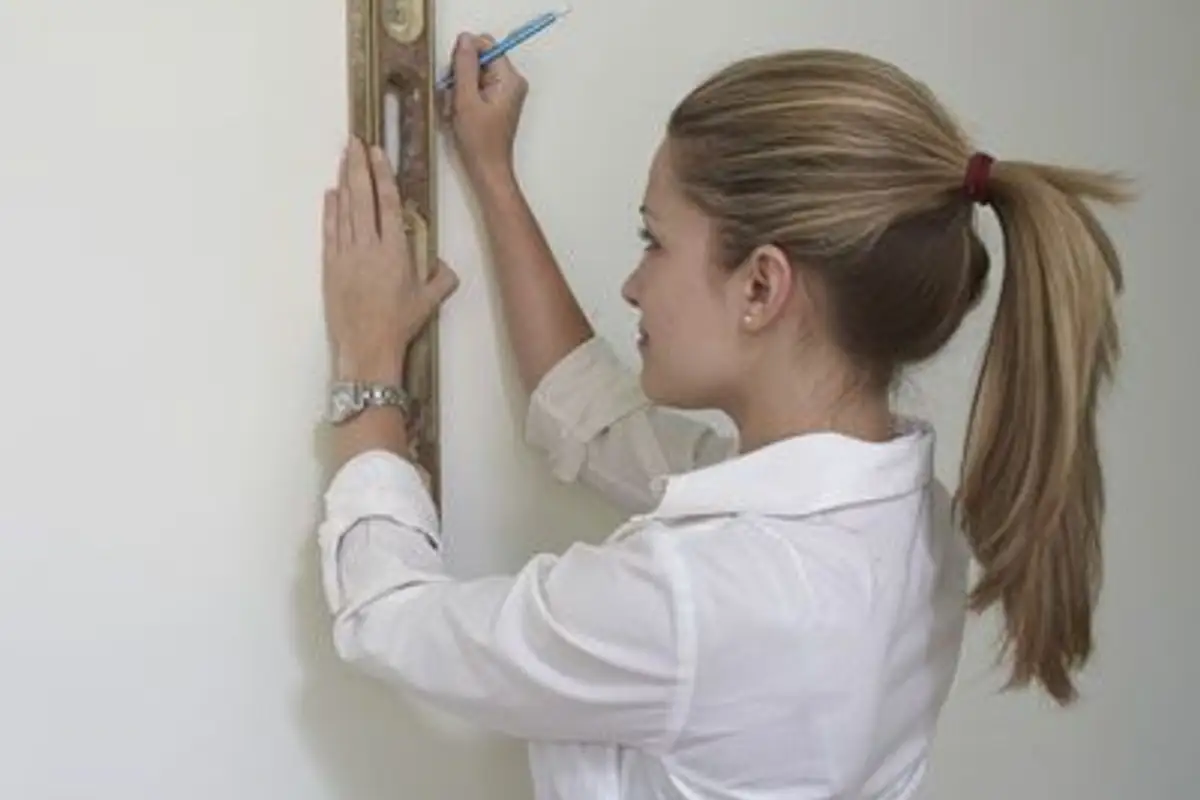
The first step Before starting work, it's good to get an idea of the amount of wallpaper needed and, of course, the model. Then make sure the walls are clean. Apply a coat of primer with a brush so that the wallpaper adheres to the wall and can be easily removed if you want to change it. Let the primer dry and then move on to the next step.
How to proceed further
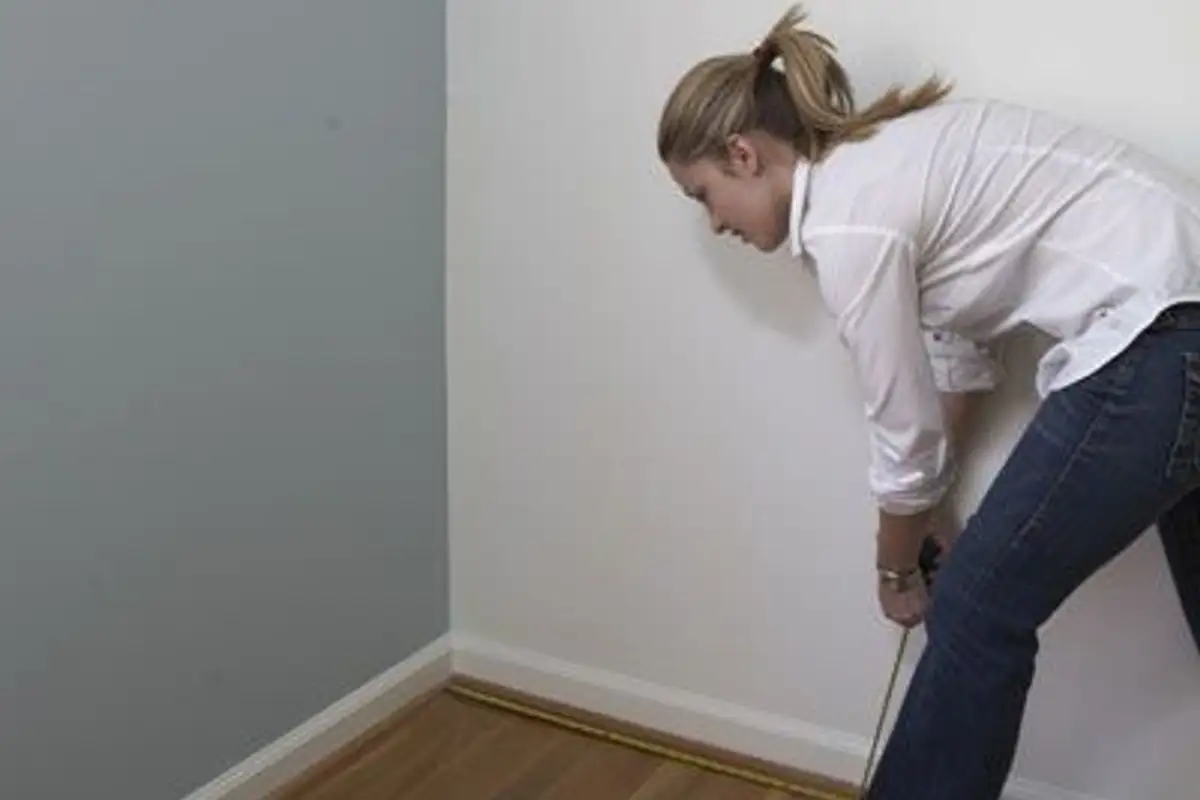
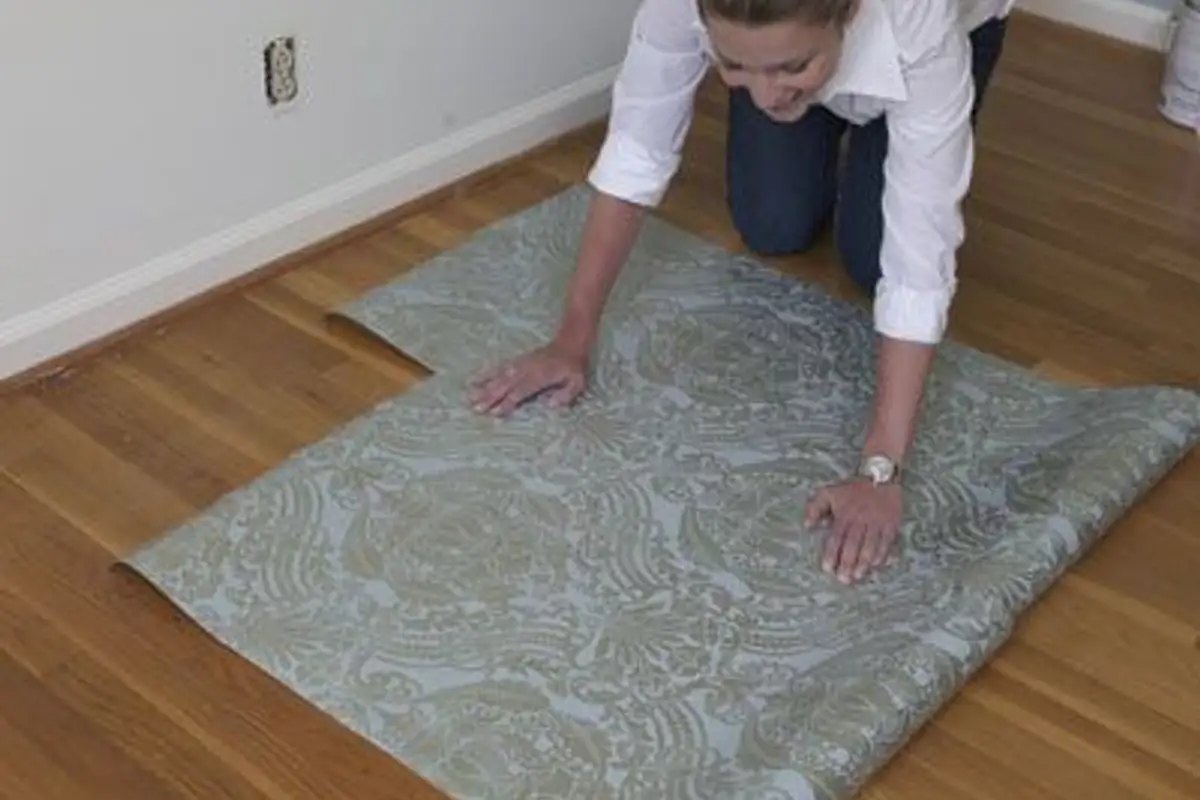
Measure the length of the roll starting from the end. Then measure the height of the wall and cut the rolled wallpaper accordingly. Do the same with the other rolls.
The next step is to prepare the wallpaper. If the wallpaper already contains a substance that will help it adhere to the wall, use a sponge with a little water to moisten the surface. If there is no such layer, apply a coat of primer to the back of the wallpaper.
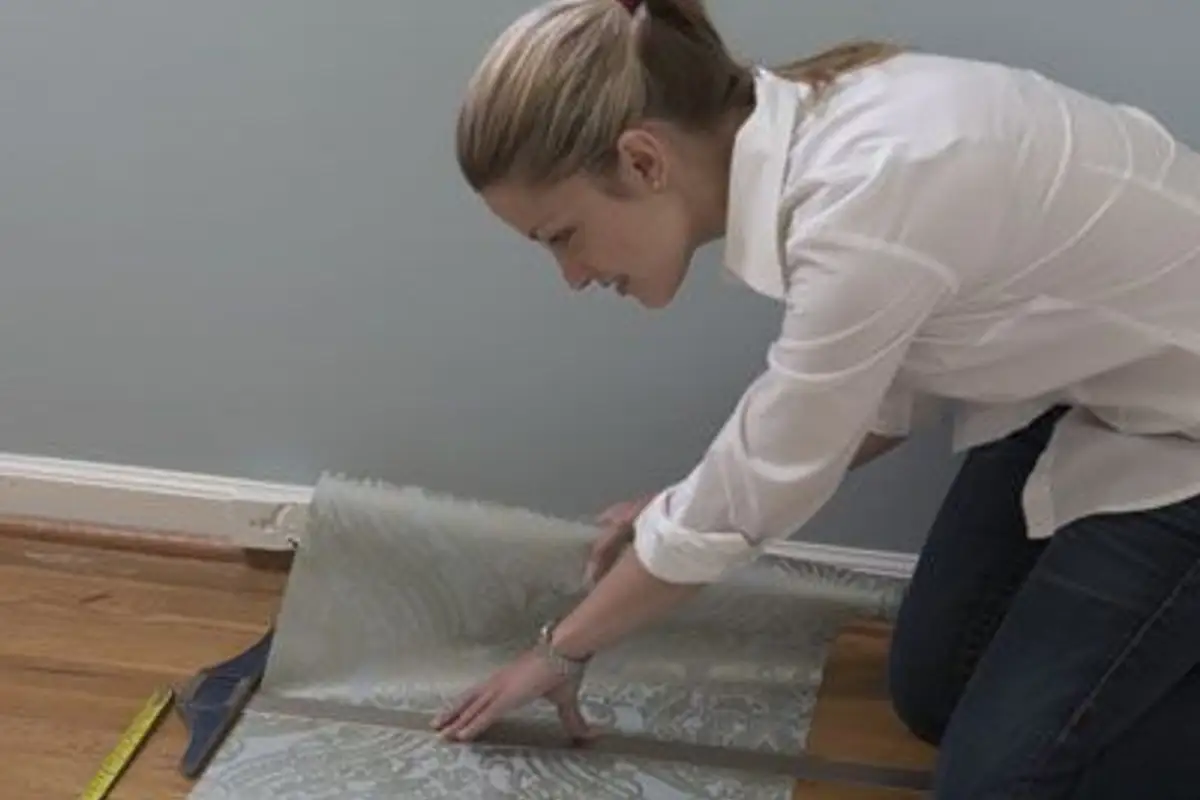
Then fold the wallpaper so that the adhesive can take effect and the wallpaper can expand to its original shape. Do this gradually with each roll of wallpaper.
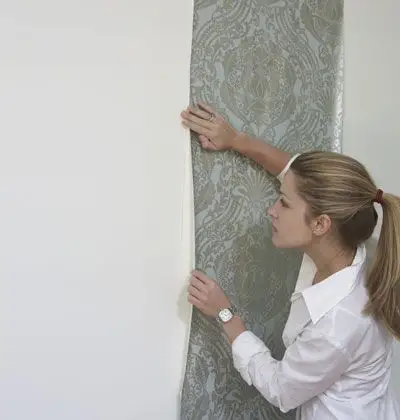
Starting from the ceiling, carefully roll the wallpaper down, paying attention to the line marked earlier. Remove excess material with a knife or cutter. Pay attention to areas where there are outlets.
With a very slightly damp sponge, go over the freshly installed wallpaper to remove any traces of adhesive or air bubbles. Start from the top down and from the center outwards.
Follow the above steps for the next roll of wallpaper as well. Be careful with the edges of the other roll. Install it immediately next to the edge of the other without overlapping. Proceed in the same way until you have rolled out each part of the material.
Photo source: myhomeideas.com