Surely you too have many empty bottles and jars at home that you keep in the pantry. Even if you use them for jams and compotes, surely a few remain each year that you keep in case you need them. This time, we propose not to keep them in the darkness of the pantry but to take them out into the light to use them in DIY projects.
Iata cum trebuie sa procedati:
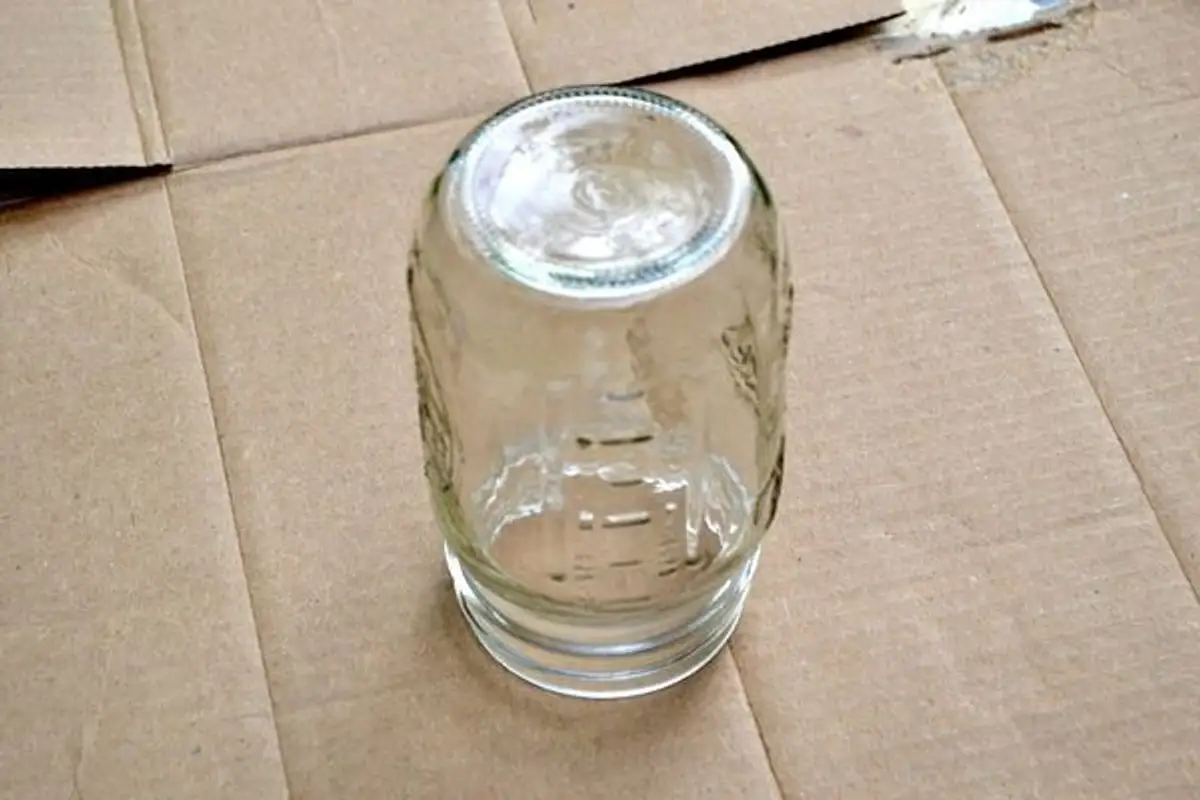
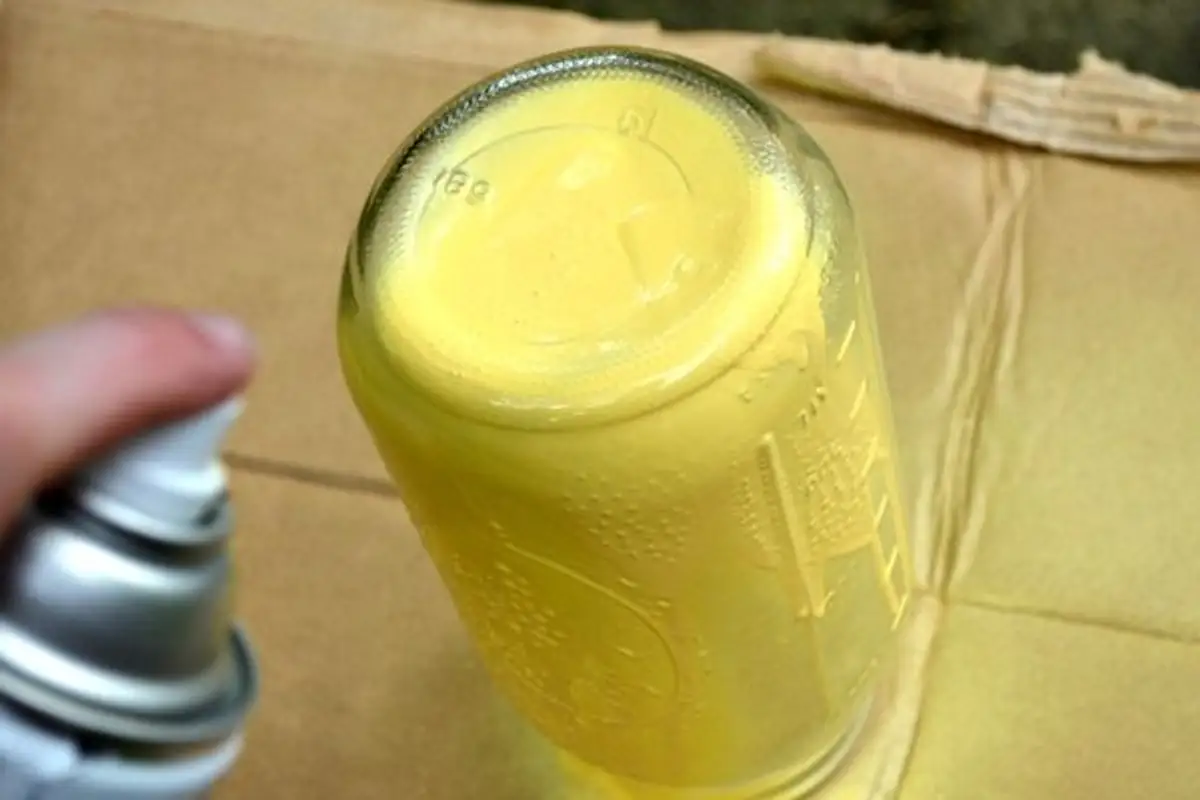
Open Gallery Spread a cardboard preferably on the balcony or terrace to prevent any accidents.
Wash the bottle or jar very well to avoid any dirt spots or sticky residue from the label. Place the jar or bottle upside down.
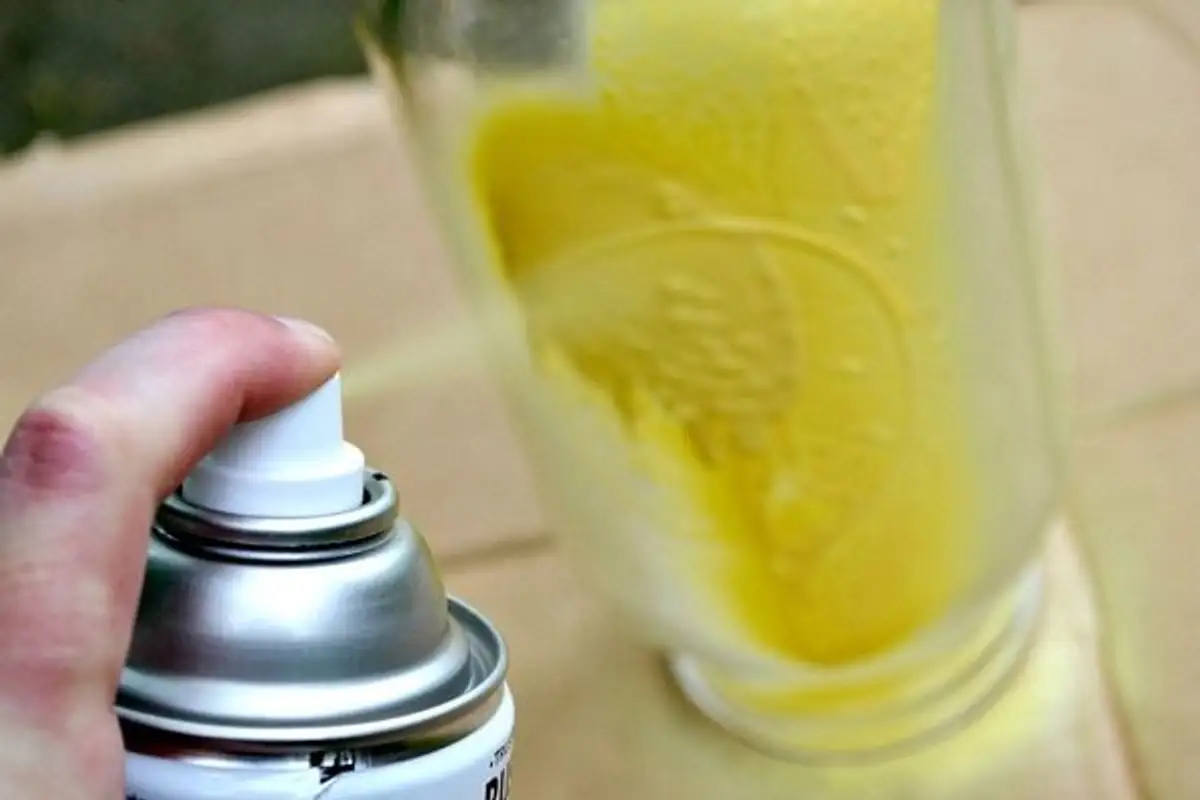
If you opt for spray paint, shake it well and then apply a coat of paint from a few centimeters away, from top to bottom, so that it is applied evenly. You can color several jars or bottles at the same time and use multiple colors. Check if there are any uncovered areas.
Then let it dry in a place that is not easily accessible to children or pets. Drying time varies between 16 and 24 hours. It is important for the paint to dry well; if you touch it too soon, there is a risk that fingerprints will remain on the recently painted surface and thus damage its appearance.
If you want to use a brush to apply the paint to a bottle, for example, the process is similar. However, be careful as the bottle can be quite unstable, so place it on a perfectly flat surface. Hold the bottle at the base and apply the coat of paint. If you want to color the base as well, you will have to wait for the walls of the bottle to dry and then paint its base.
Let it dry and your project is ready. Depending on the type of paint used, the drying time will be different. If you want a more interesting pattern, you can draw stripes of different thicknesses and colors (such a pattern is easier to make on the walls of a jar due to its greater stability).
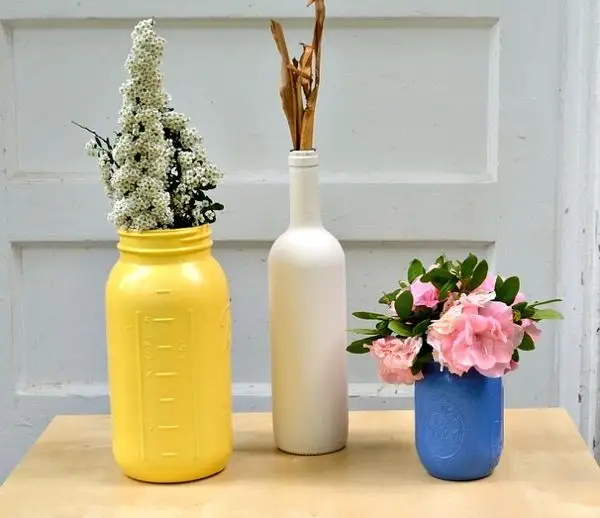
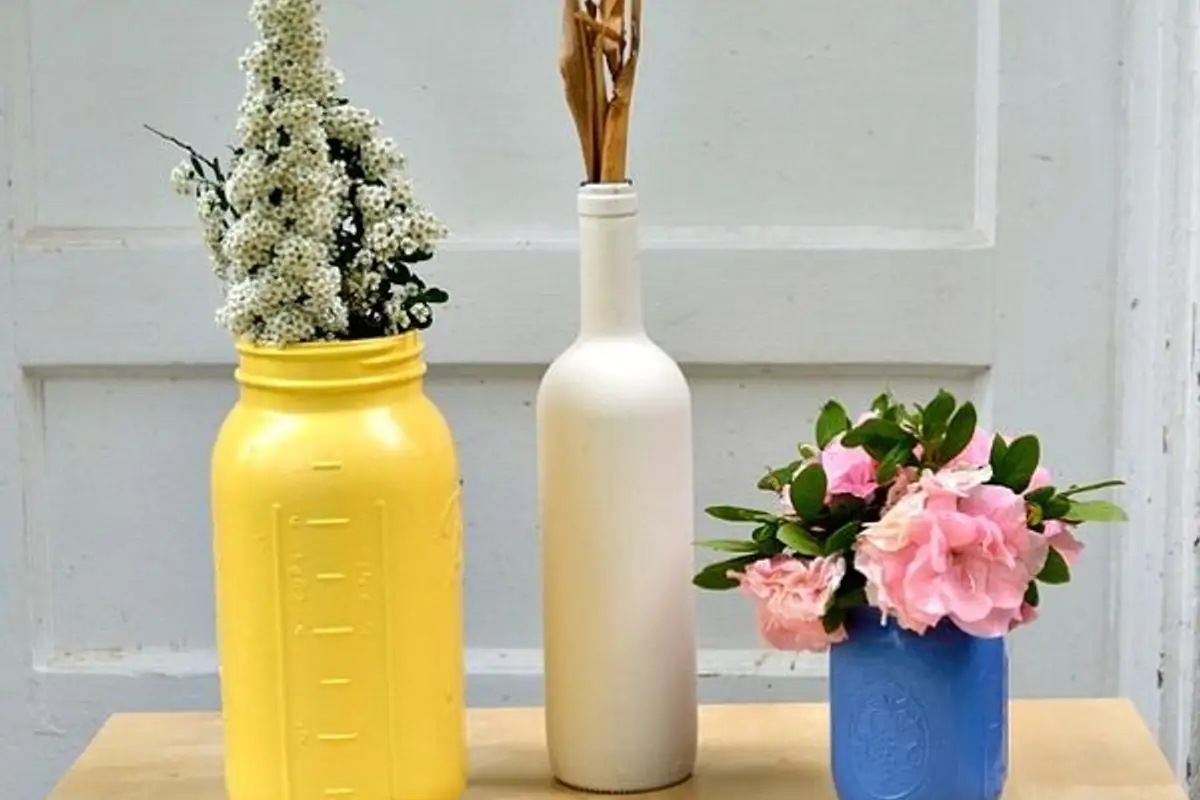
You can then use them as vases, pencil holders, pens or kitchen utensils (jars). You can display them together to add extra interest to the decor or in any way you like.
How to paint a bottle or jar
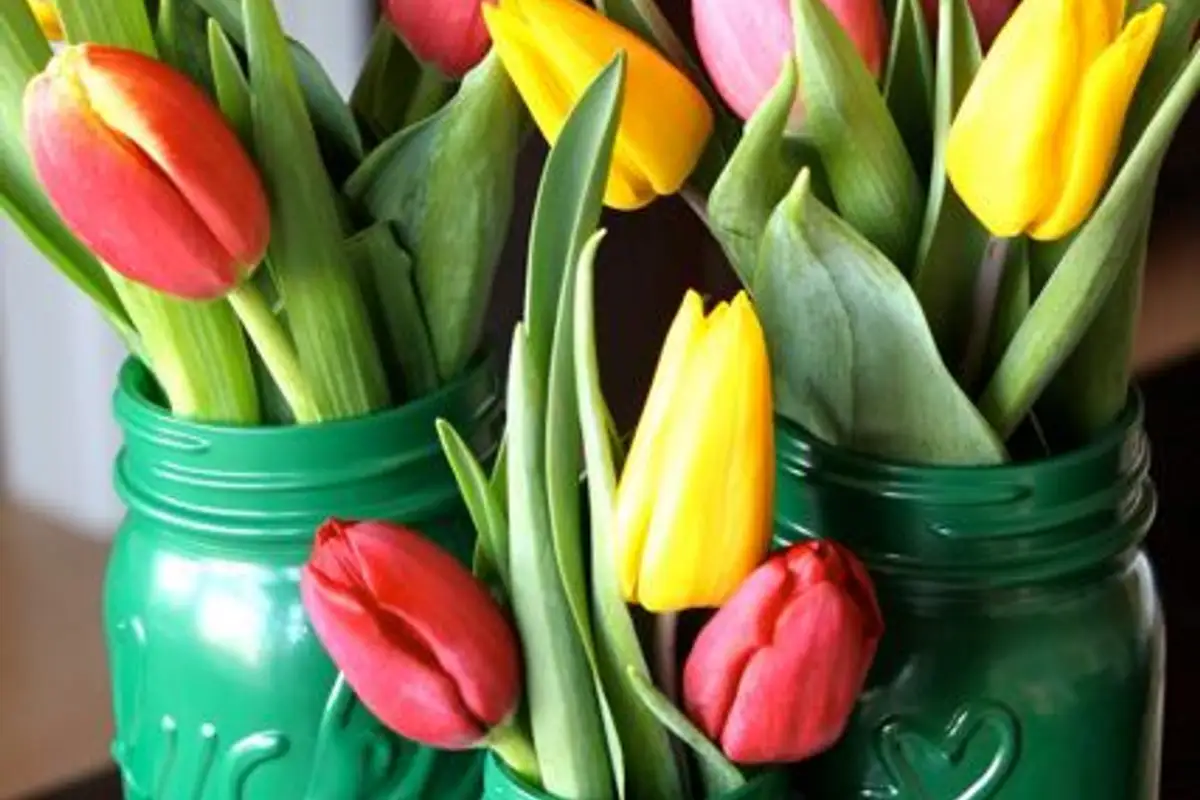
Painted jars