When you think about redecorating and redesigning the interior design of your home, stripes are always one of the options you should try. Stripes offer a unique touch, an element of change that will make you think about redecorating other rooms in your house as well.
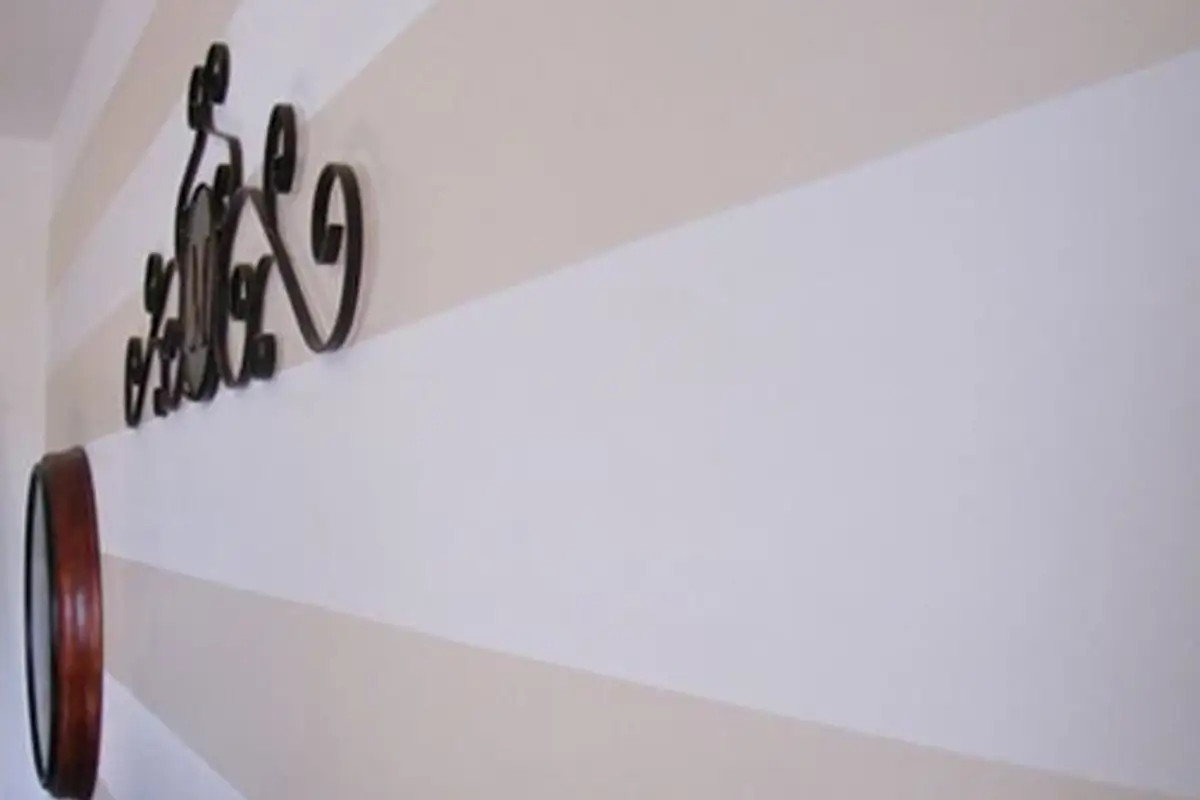
Open Gallery With an extra dose of dynamism, a striped wall will inspire you and offer a glimpse into each of the walls you've painted yourself.
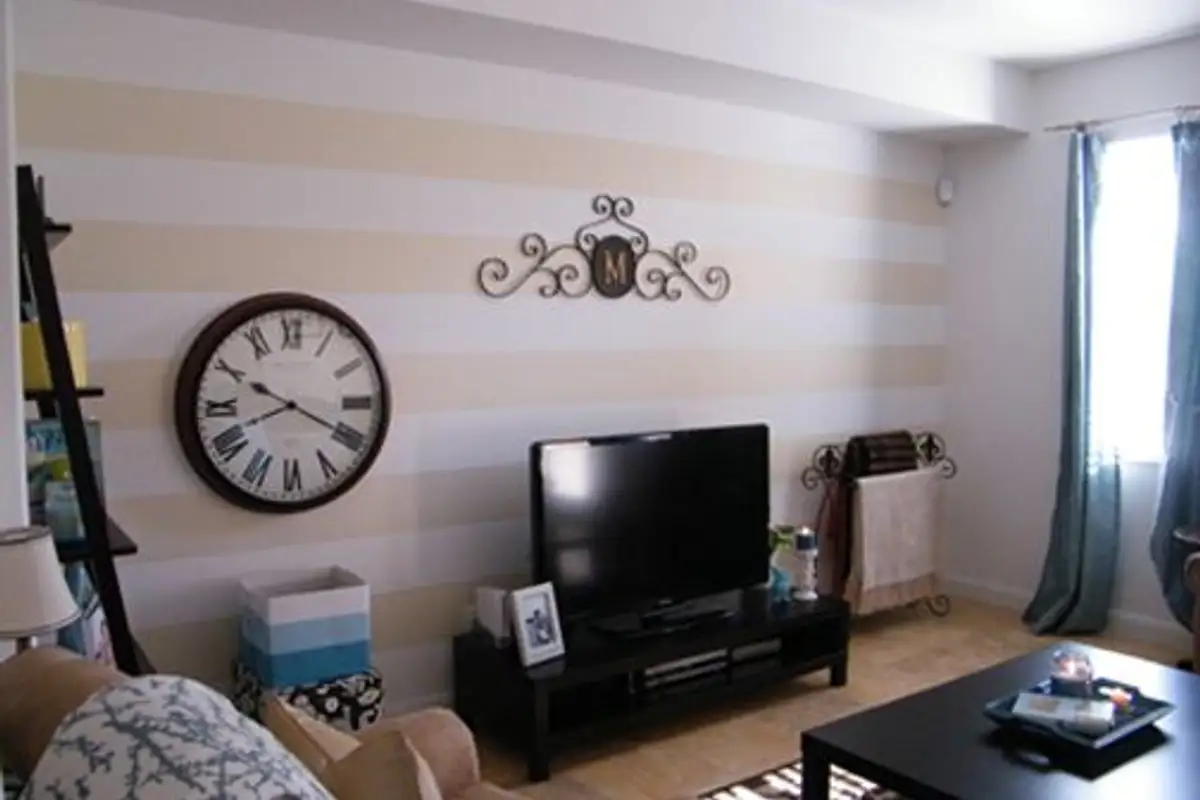
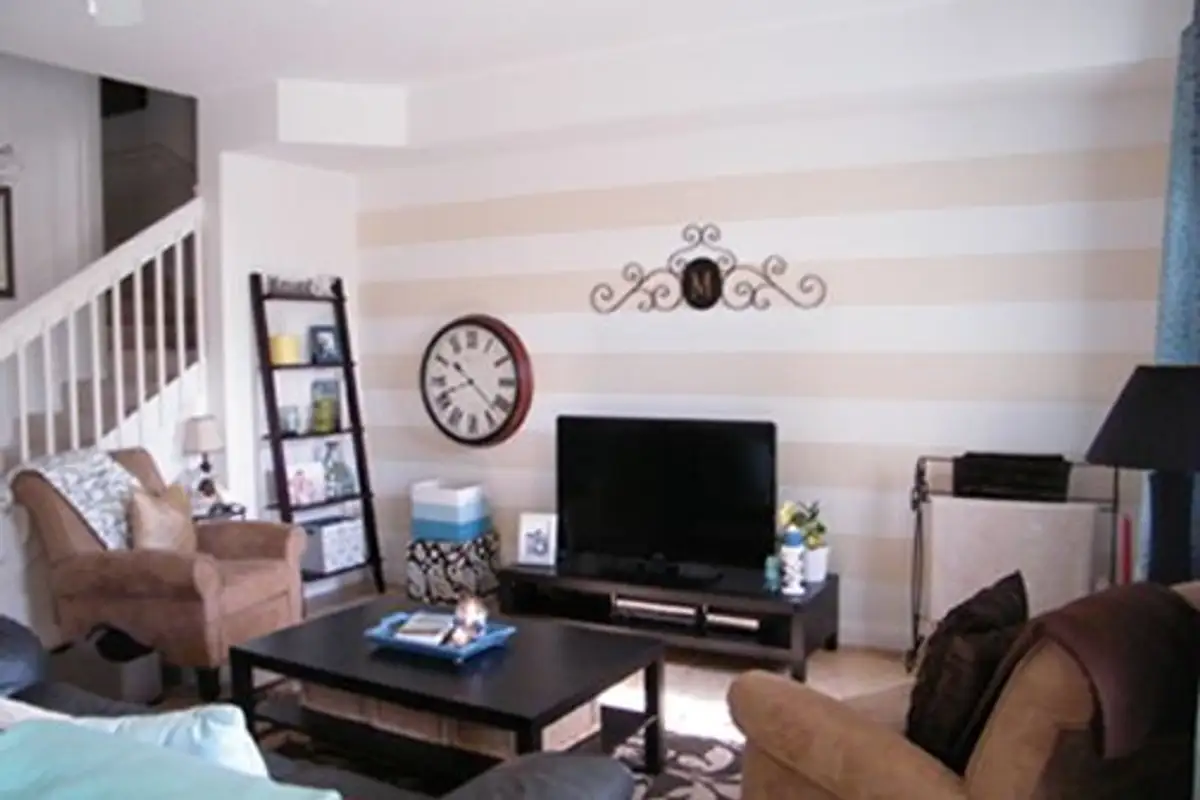
Horizontal stripes in the living room will give it a lounge feel, and you'll feel much more relaxed, as they symbolize peace, stability, and relaxation. Such a design is very easy to achieve, especially if you follow the steps outlined in the article's photos.
DIY – Do It Yourself is the way you can achieve such a process of changing an interior design that you've grown tired of, and the results will be extremely satisfying.
Step 1: Create your pattern for the stripes you will use on the living room wall.
Step 2: Fill in the created template. If you decide to paint in multiple colors, then make sure the first color is used to cover the entire wall, followed by the painting of the stripes.
Step 3: Mark the design well. Make sure each color has dried before moving on to the next steps. Otherwise, you risk ruining the entire outline and will have to start over.
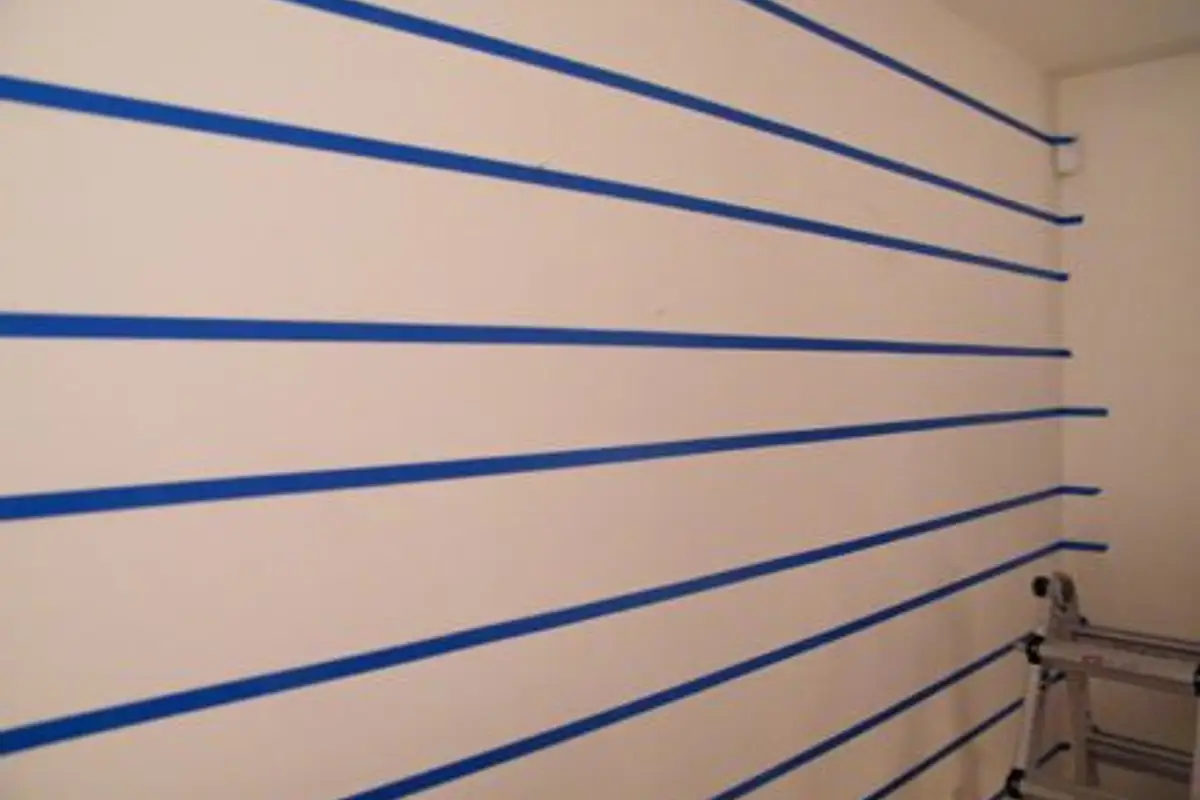
Step 4: Put adhesive tape on the wall to fix the template through which the stripes will be painted.
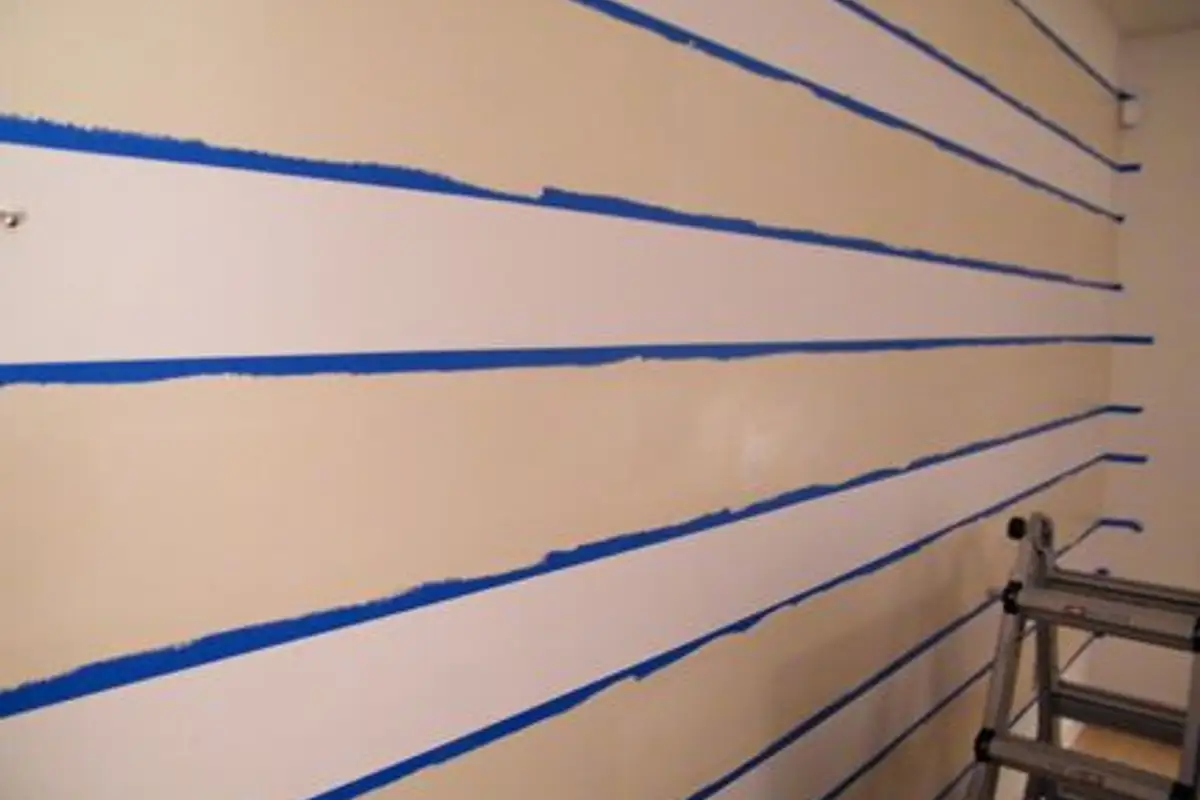
Step 5: Paint with a roller to ensure that the stripes come out perfectly.
Step 6: Remove the adhesive tape to see how the new pattern looks on your living room walls.
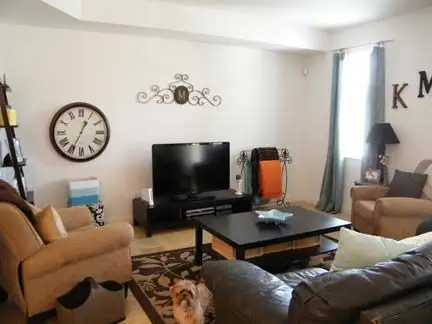
Now that you have completed these 6 very practical and extremely easy steps, you can be proud of an extremely successful DIY project, aspects and very modern.
Photo Source: http://adesignstory.com/